How to Connect a Domain to Your IVSO Page
Step 1: Register a Domain Name
- Choose a Domain Registrar: Select a domain registrar to purchase your domain name. We suggest using https://namecheap.com.
- Search for a Domain: Use the registrar’s search tool to find an available domain name that represents your brand.
- Register the Domain: Follow the registrar’s instructions to purchase and register the domain name. Make sure to complete any required verification steps.
Step 2: Access Your Domain’s DNS Settings
- Log In to Your Domain Registrar: Access your account on the domain registrar’s website.
- Navigate to DNS Settings: Find the section for managing DNS settings. This is usually under “Domain Management,” “DNS Management,” or similar.
Step 3: Add a CNAME Record
To connect your domain to IVSO, you need to add a CNAME record for both the root domain and the “www” subdomain. If you are using Namecheap, you can follow the instructions here: https://www.namecheap.com/support/knowledgebase/article.aspx/9646/2237/how-to-create-a-cname-record-for-your-domain/
For the Root Domain (eg. https://janesmith.com):
- Create a New CNAME Record:
- Type: CNAME
- Name: @ (or leave blank, depending on the registrar. You can also use a subdomain)
- Value: cname.ivso.me
- TTL: Set to default or 3600 seconds
For the www Subdomain (optional) (eg. https://www.janesmith.com):
- Add a URL Redirect Record:
- Scroll down to the “Host Records” section.
- Click the “Add New Record” button.
- Choose “URL Redirect Record” from the dropdown menu.
- Set the
Hostfield towww. - Set the
Valuefield tohttp://yourdomain.com(replaceyourdomain.comwith your actual root domain). - Set it as a
Permanent 301if available. - Set the
TTLfield toAutomatic.
Example Instructions for Popular Registrars
Namecheap:
- Log in to your Namecheap account.
- Select “Domain List” from the left sidebar and click “Manage” next to your domain.
- Go to the “Advanced DNS” tab.
- Under “Host Records”, click “Add New Record”.
- Select “CNAME Record” from the dropdown menu.
- For the root domain:
- Host: @ (You can also use a subdomain)
- Value: cname.ivso.me
- Click the green checkmark to save changes.
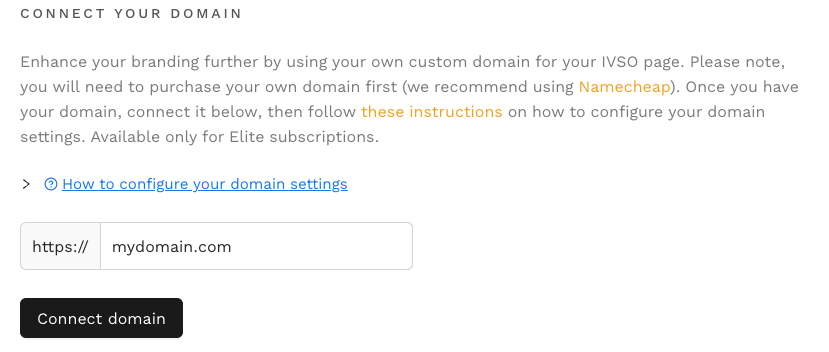
Step 4: Enter and Connect Your Domain on the IVSO Settings Page
-
Enter Your Domain: Input your custom domain name in the provided field and connect.
Step 5: Verify and Connect Your Domain
- Wait for DNS Propagation: DNS changes can take up to 48 hours to propagate, but they often update much sooner.
- Verify Connection: Once the DNS changes have propagated, your domain should be connected to your IVSO page.
- Check Your IVSO Page: Visit your domain in a web browser to ensure it correctly points to your IVSO profile.
If you encounter any issues, refer to your domain registrar’s support documentation or contact their customer support for assistance.